 |
 |
|
 |
 |
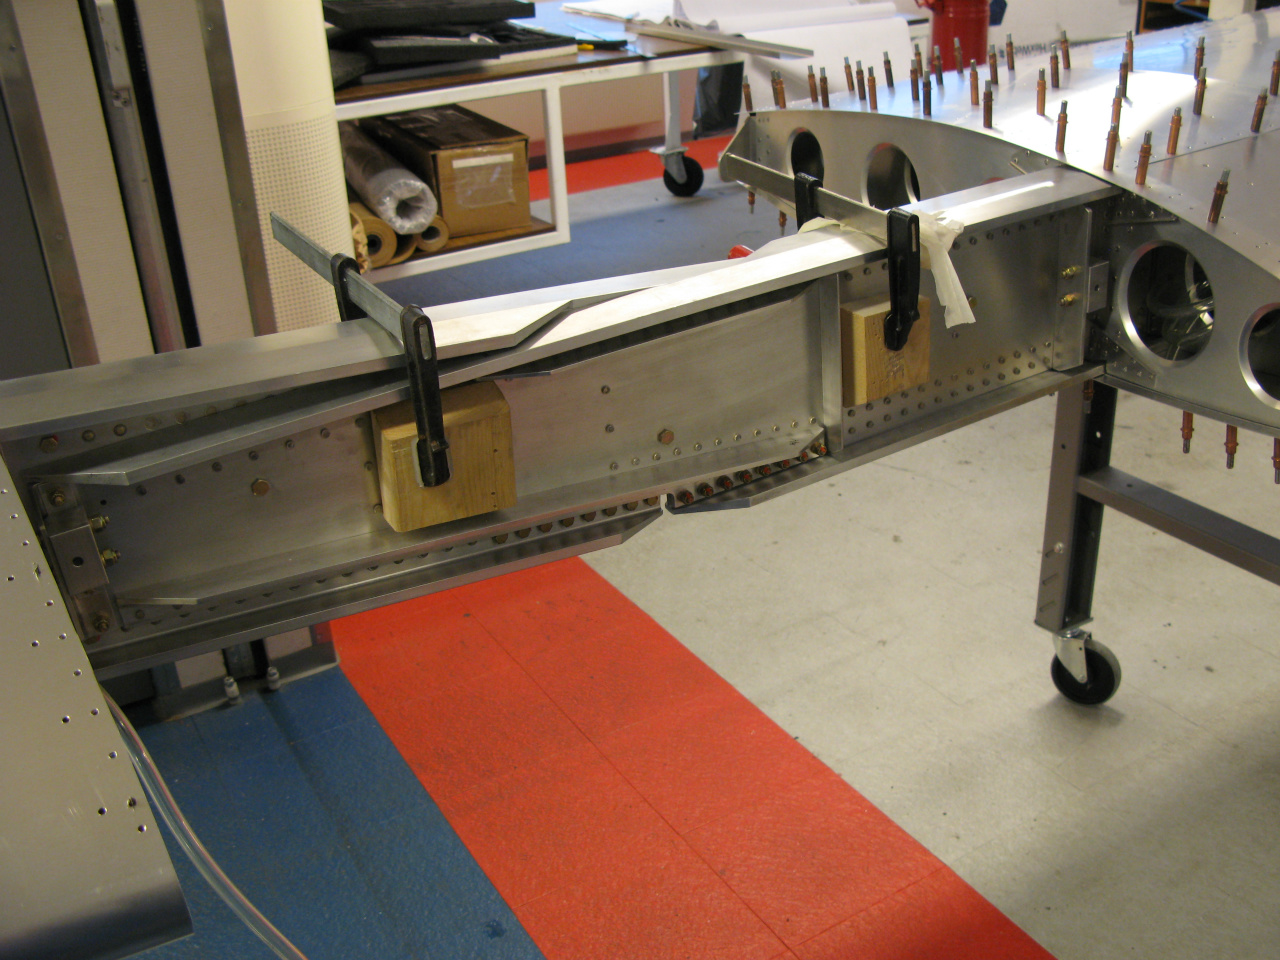
Wings clamped together outside airframe
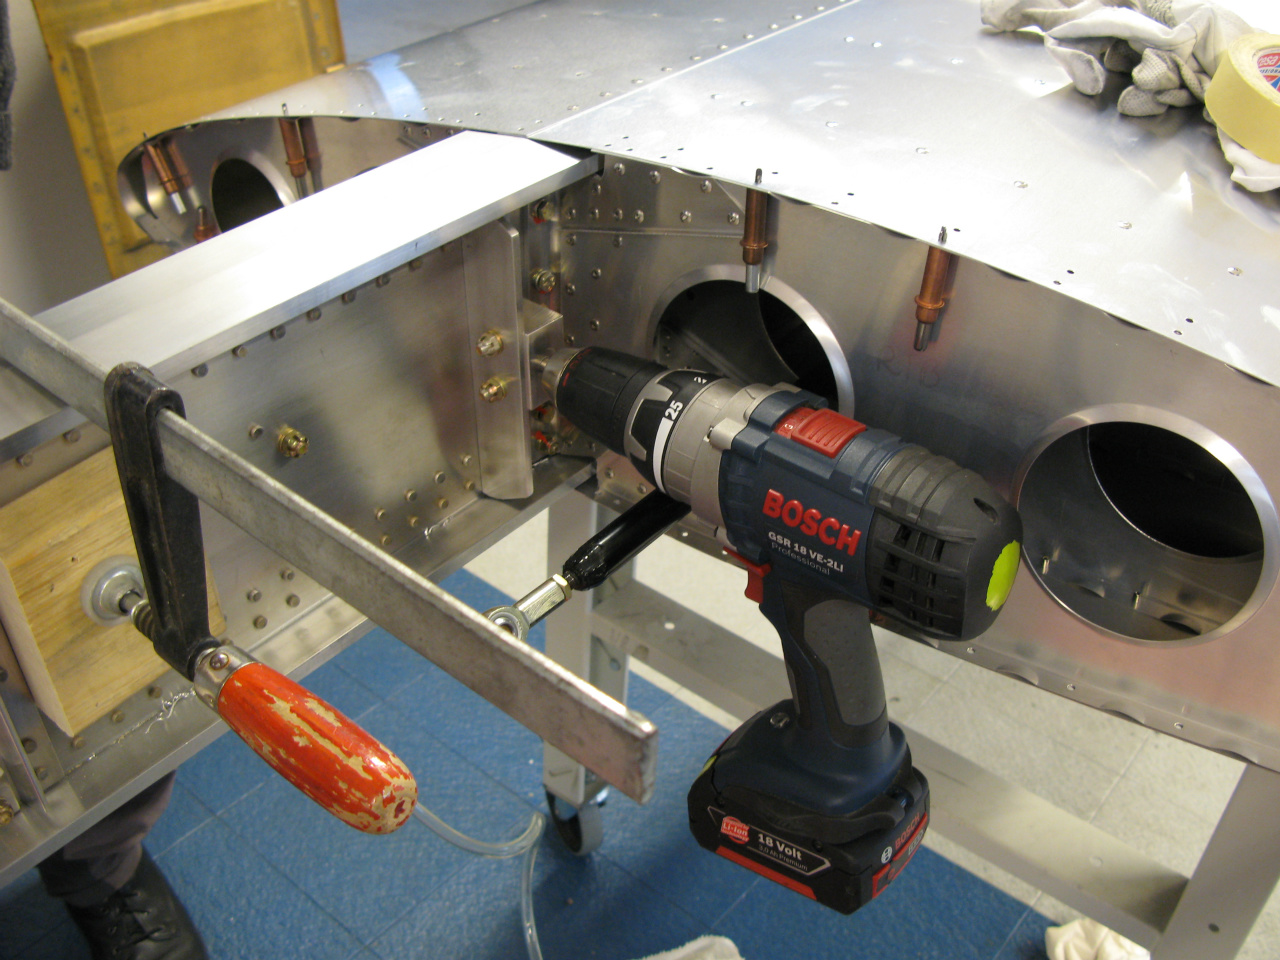
Main spars drilled to full size using step drills. Easy to maintain control and direction with wings outside airframe.
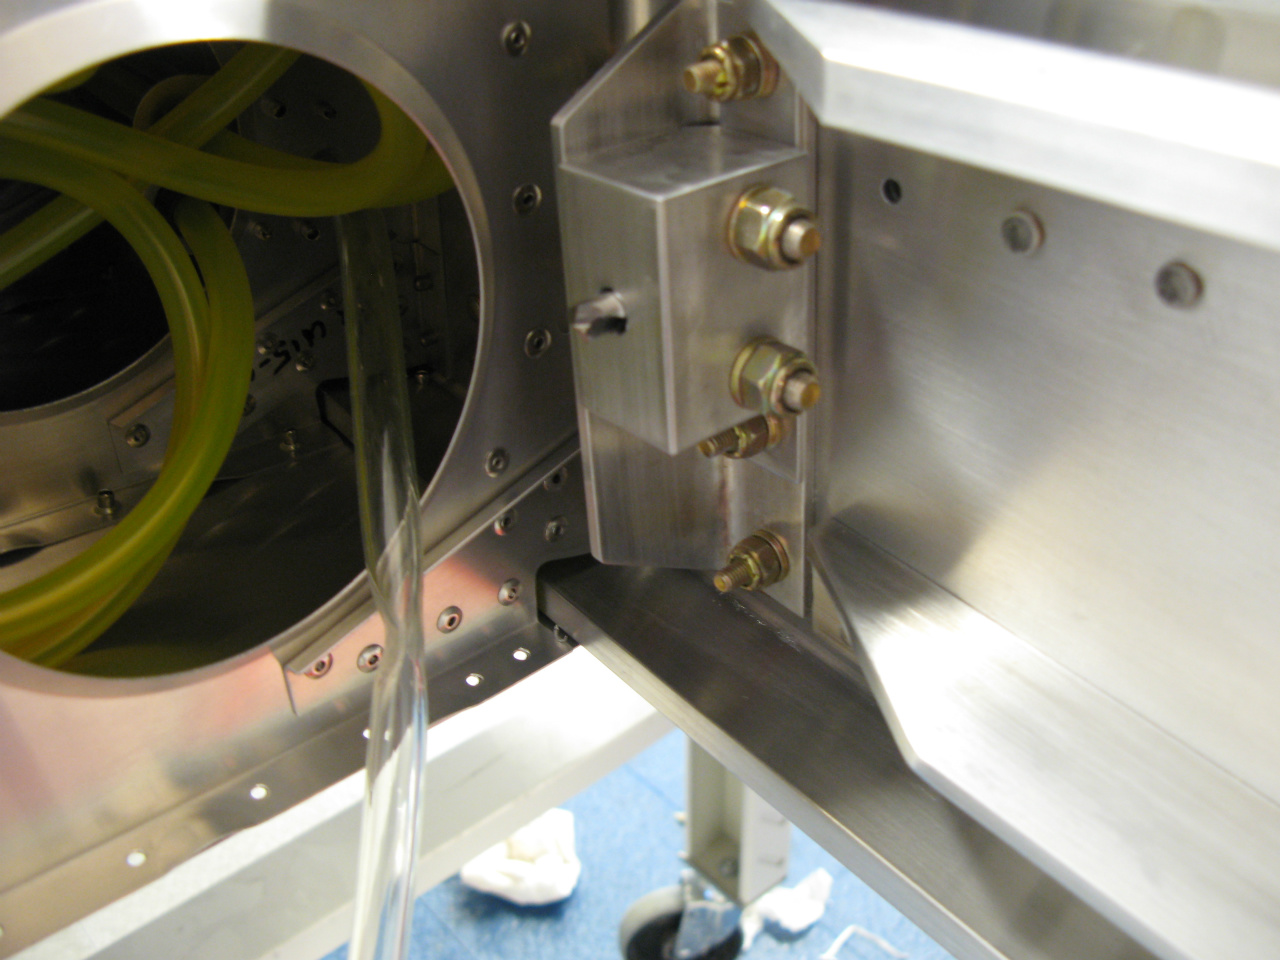
Fullsize drillbit poking through
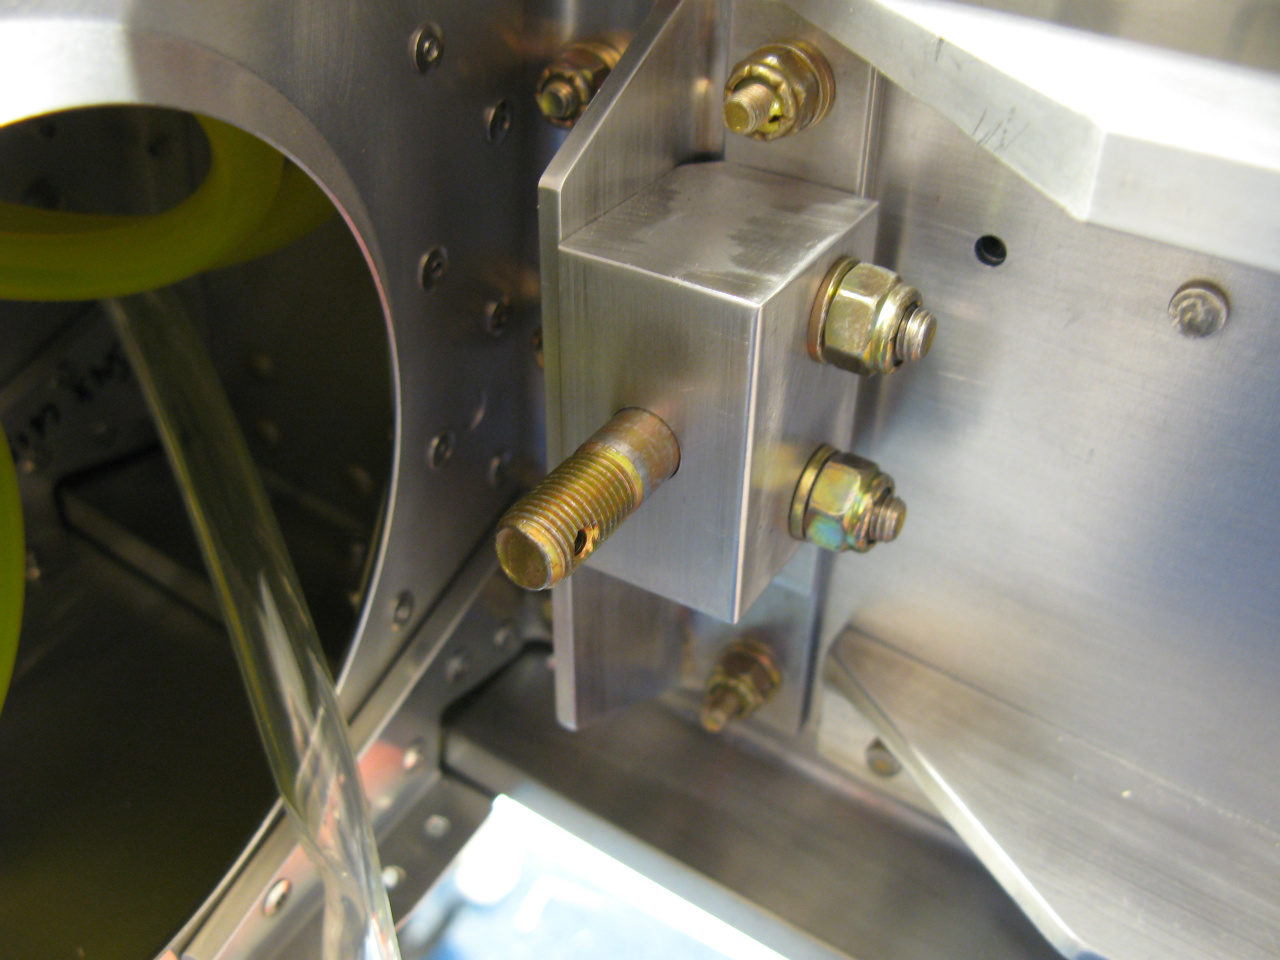
After carefully reaming to size, the bolts fit perfectly

Rear spar clecoed in place. This ensures correct distance on the rear spar carry through assembly will be set as the main sparts are clamped together.

To siplify alignment, we kept the rear spars holes at 40 size with this exercise in mind.

Fuselage on saw horses, initial alignment
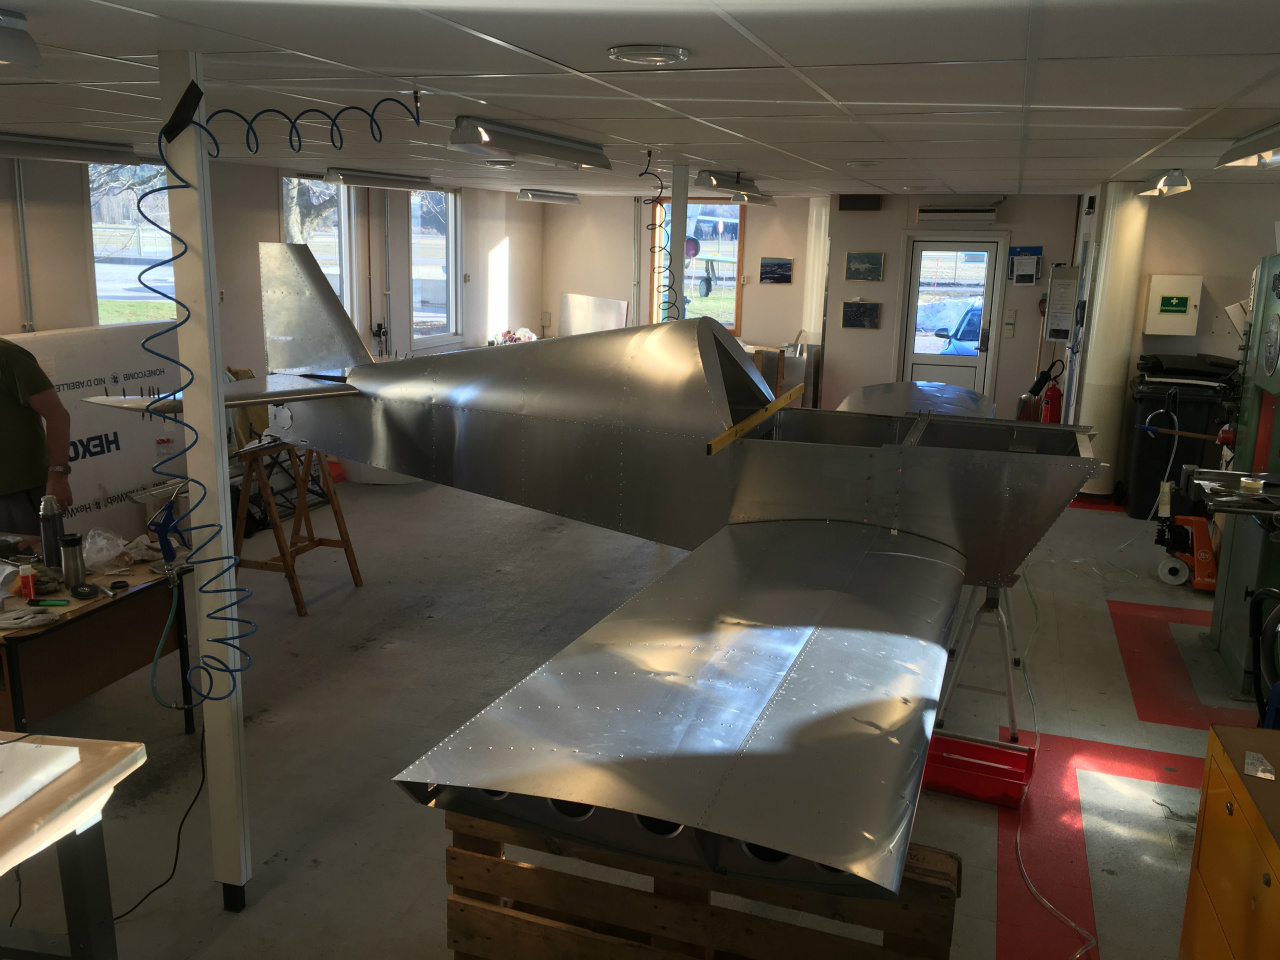
Wings in, alignment measurements and leveling complete in accordance with SNX-F02
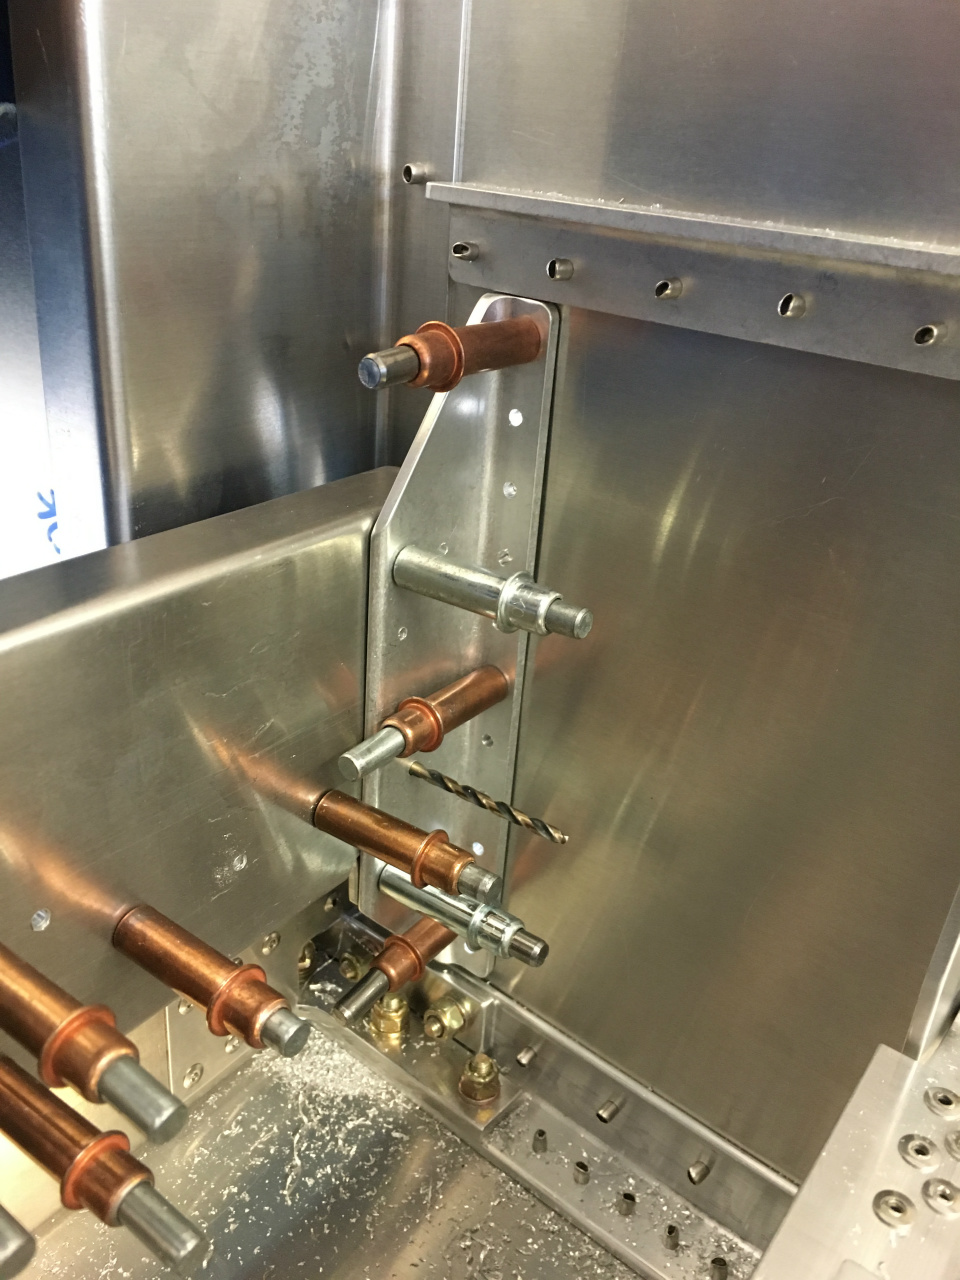
Wing inciden angle set at rear spar carry through.
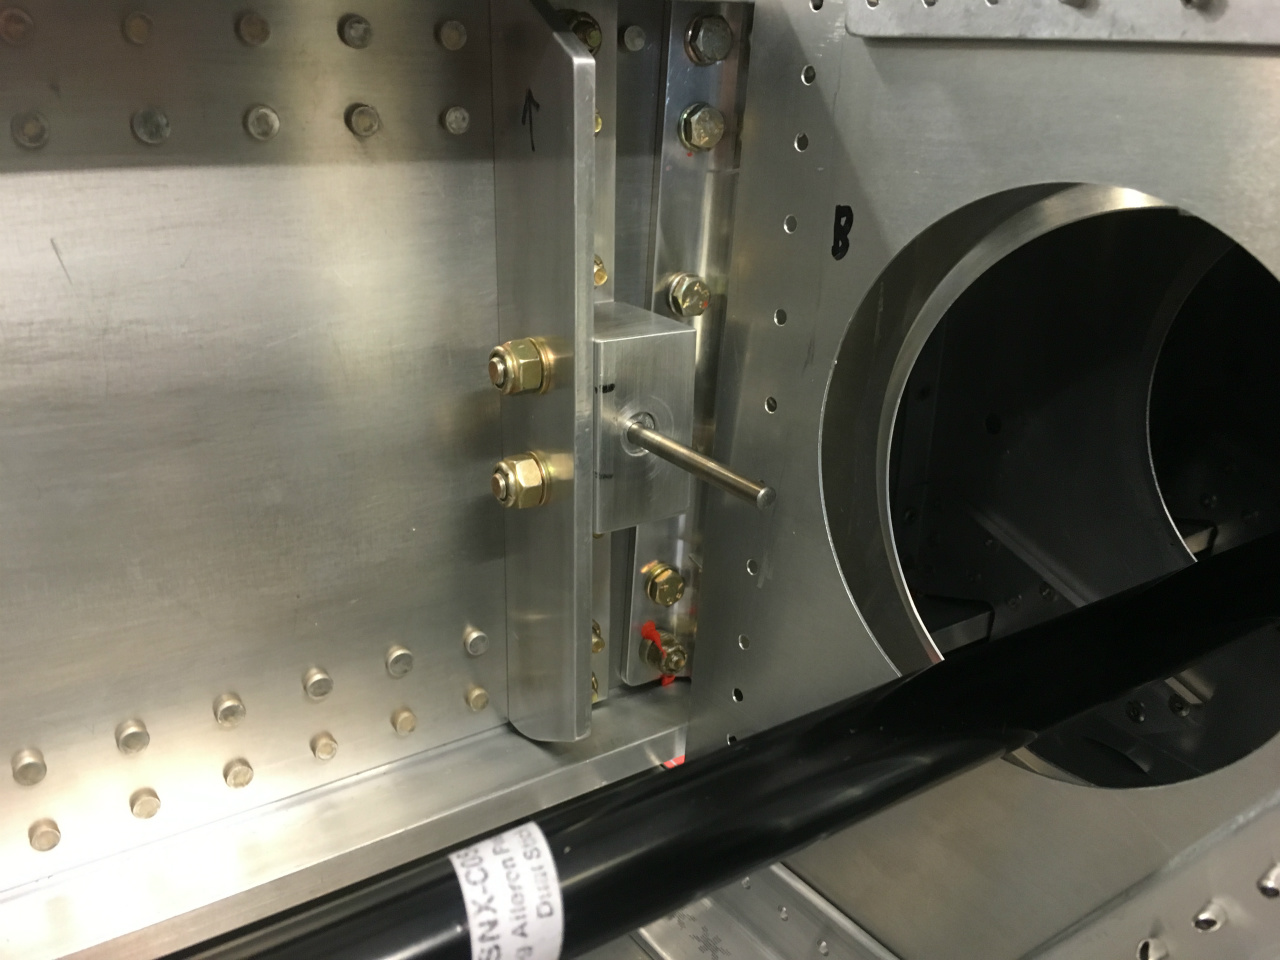
We made two fullsize OD / 3/16" ID bushings and inserted them into the main spars. Then we drilled the fwd fuselage angles and spar tunnel

L/H side shown, drilling 3/16" hole through bushing
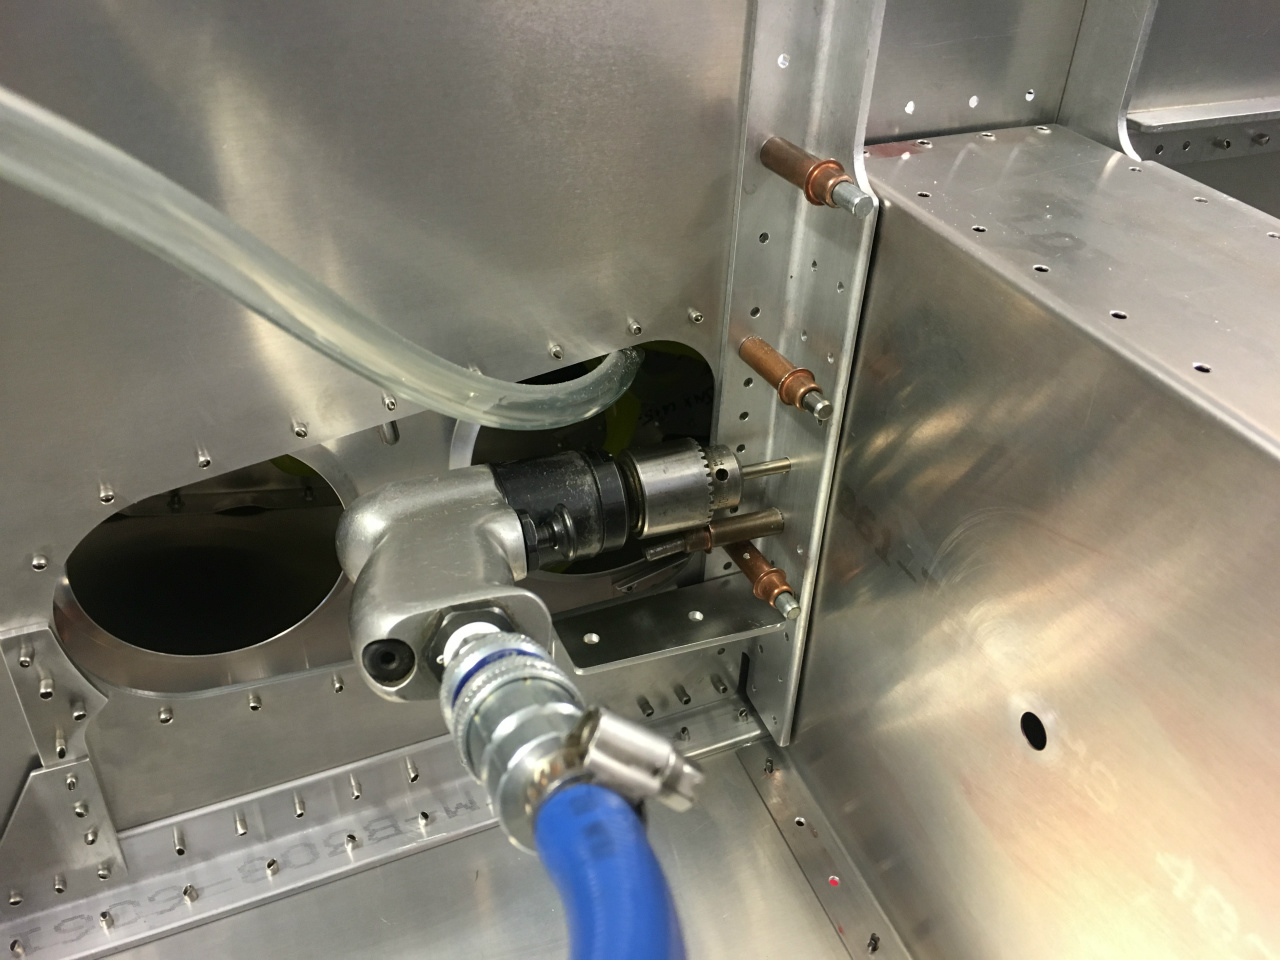
Rear fuselage angles and spar tunnelparts installed, drilling through bushing fwd to aft

L/H side fwd to aft drilling

Wings out again, full size drilling of rear spar carry through assembly

L/H side shown
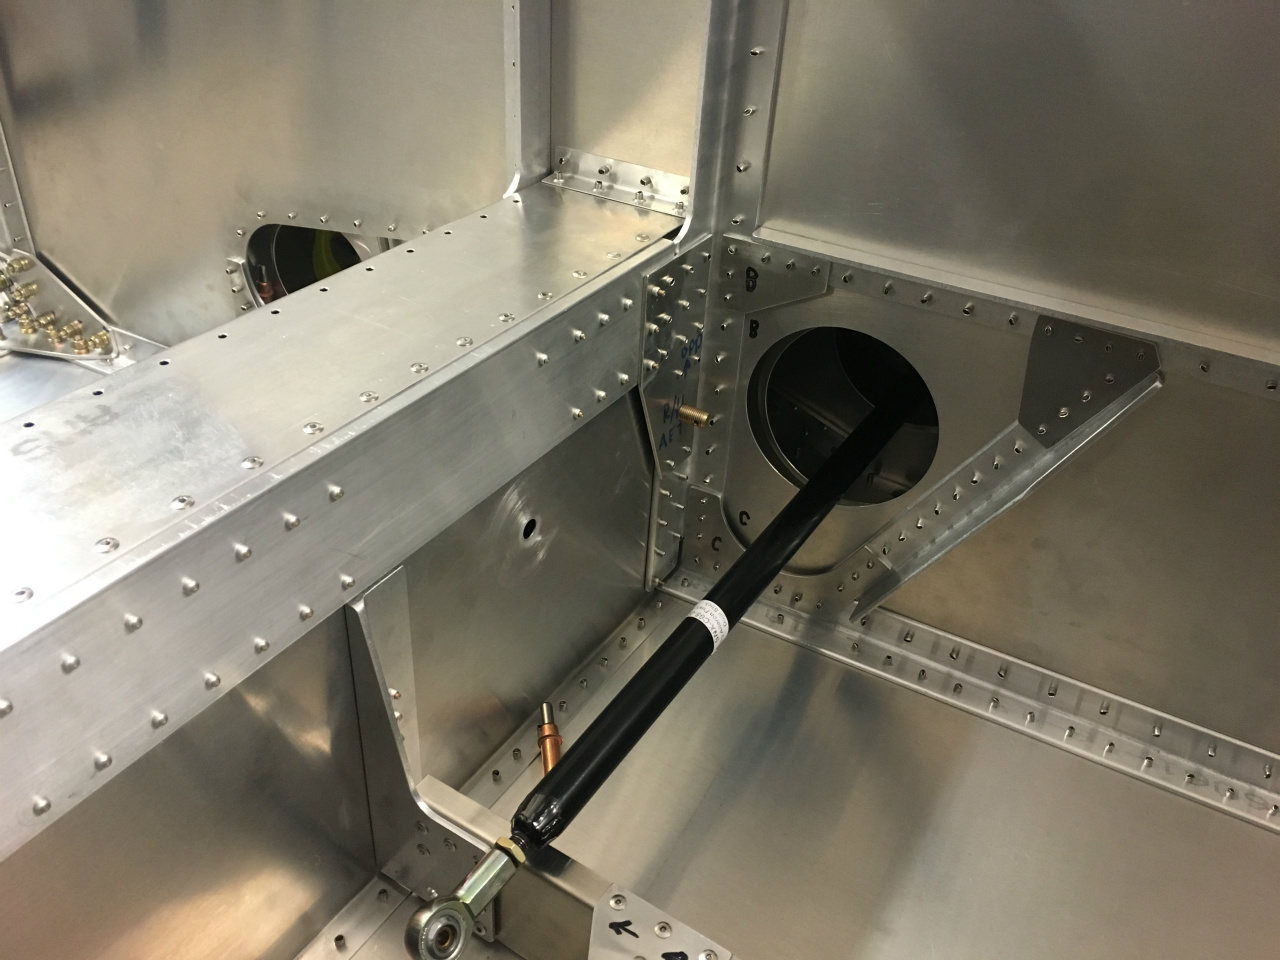
Fuselage side angles fullsize drilled in a drill press. Once back inside fuselage, we carefully reamed the holes. The fit is perfect
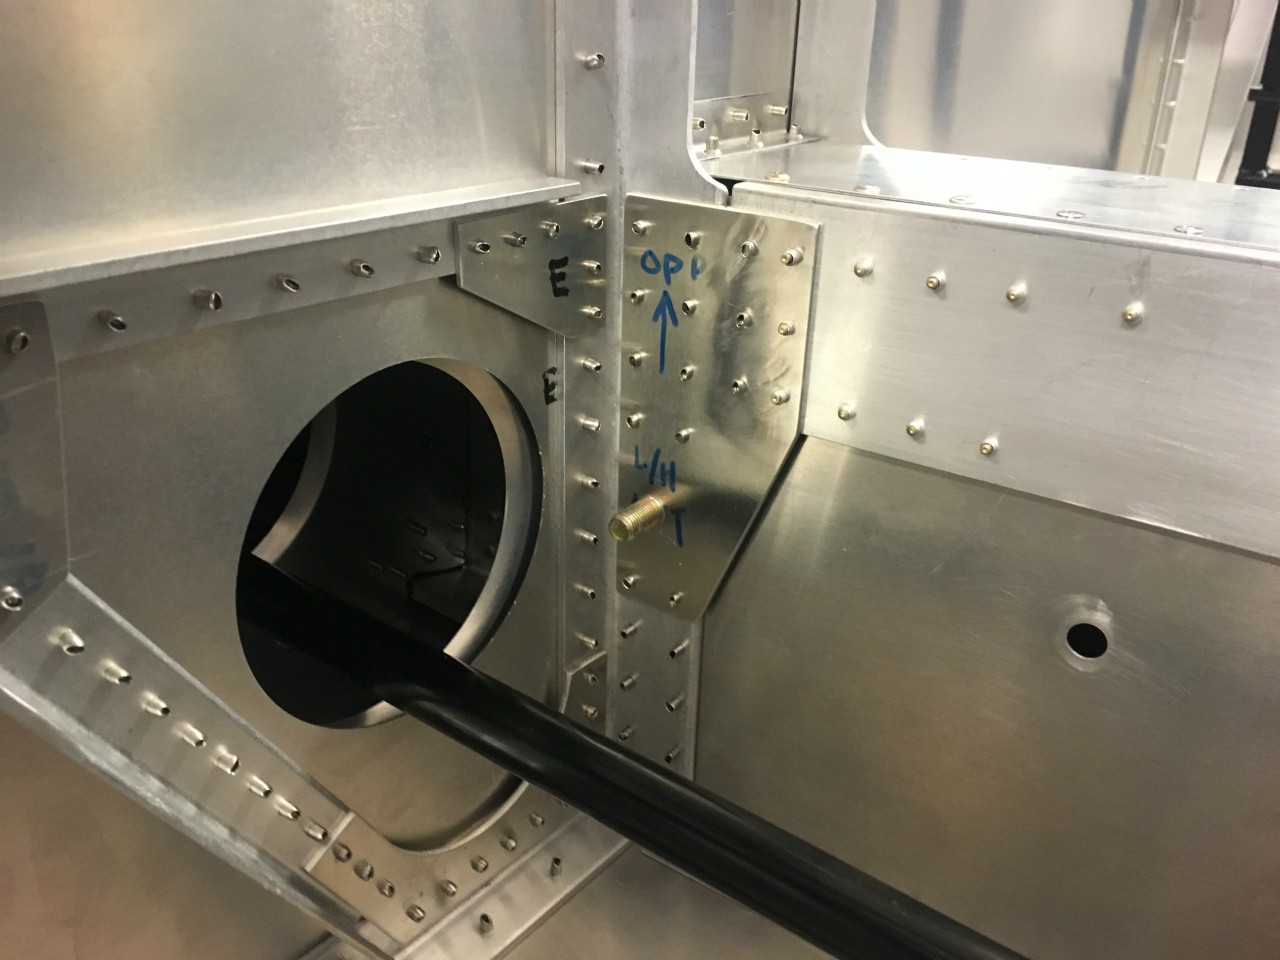
L/H aft side
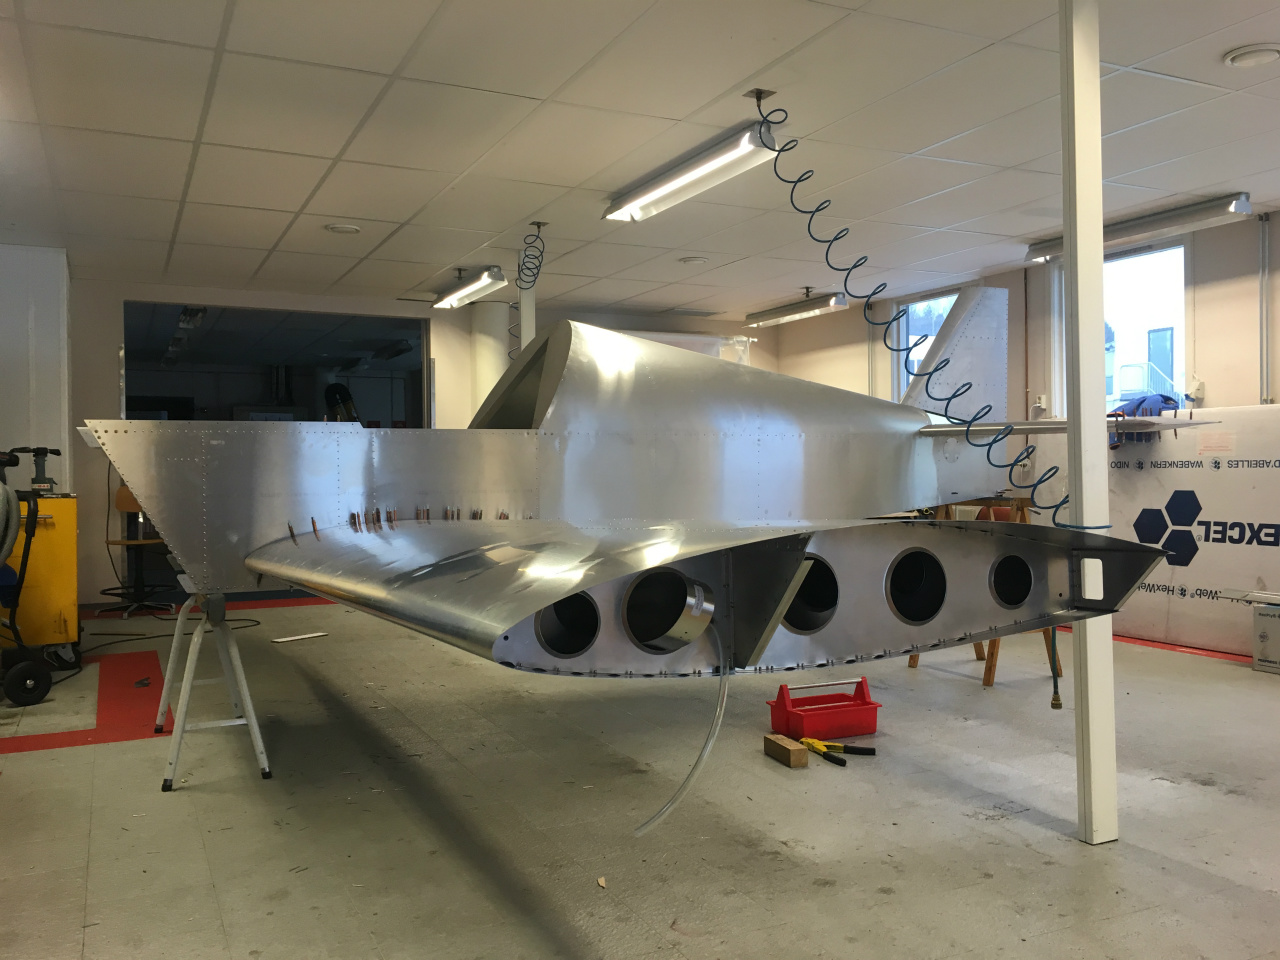
Wing rigging sequence complete. The wings are fixed to the fuselage the way they should for the first time.
The rigging of wings to fuselage is a critical part of the build process. Ever since we first started the project, this building step has been on our mind, and we ended up doing it slightly different than called for in the plans.1) First we mated the wings and full size drilled the main spar outside of the fuselage. This made it easier to keep everything still and properly clamped together while drilling. It also made it easier to maintain direction while drilling, having everything outside the fuselage.
2) With the main spars clamped together, the distance between the to rear spars were set, and correct lineup and initial drilling of the rear spar carry through assembly, could be done.
3) Once lined up inside the fuselage, we pilot drilled the fuselage side angles and spar tunnel assembly to 3/16" by using bushings inside the main spar for guiding. Everything were then removed from the fuselage, and the side angles and spar tunnel assembly were full size drilled in a drillpress.
We carefully reamed the main spar and the fuselage angles/spar tunnel, once assembled with holes to full size. We're extremely happy with the fit and accuracy of this critical assembly
 Wings clamped together outside airframe
 Main spars drilled to full size using step drills. Easy to maintain control and direction with wings outside airframe.
 Fullsize drillbit poking through
 After carefully reaming to size, the bolts fit perfectly
 Rear spar clecoed in place. This ensures correct distance on the rear spar carry through assembly will be set as the main sparts are clamped together.
 To siplify alignment, we kept the rear spars holes at 40 size with this exercise in mind.
 Fuselage on saw horses, initial alignment
 Wings in, alignment measurements and leveling complete in accordance with SNX-F02
 Wing inciden angle set at rear spar carry through.
 We made two fullsize OD / 3/16" ID bushings and inserted them into the main spars. Then we drilled the fwd fuselage angles and spar tunnel
 L/H side shown, drilling 3/16" hole through bushing
 Rear fuselage angles and spar tunnelparts installed, drilling through bushing fwd to aft
 L/H side fwd to aft drilling
 Wings out again, full size drilling of rear spar carry through assembly
 L/H side shown
 Fuselage side angles fullsize drilled in a drill press. Once back inside fuselage, we carefully reamed the holes. The fit is perfect
 L/H aft side
 Wing rigging sequence complete. The wings are fixed to the fuselage the way they should for the first time.
Mer infoLiker
| |
 |